Notice: Undefined index: group in /opt/lampp/htdocs/pages/navigation.php on line 5
Notice: Undefined index: user in /opt/lampp/htdocs/pages/navigation.php on line 171
Help: Student Management
This interface will allow the user to manage the students assigned to the schools on the Track-Mi website
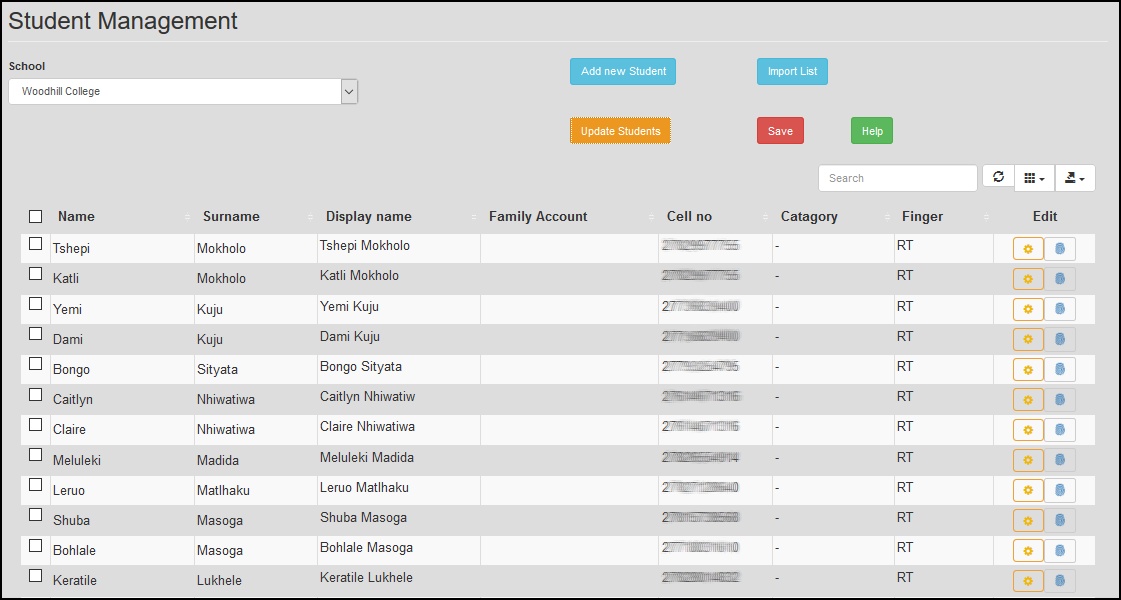
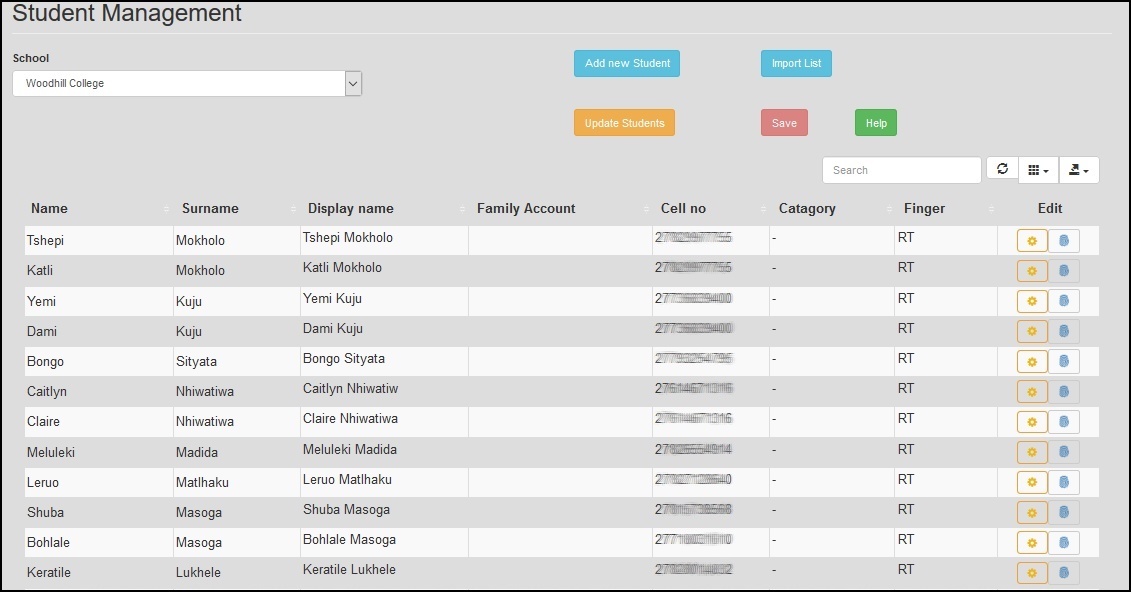
- The main interface displays all the students registered on the selected school. The main grid displays the
name, surname, display name, family account, cell phone number and enrolled fingers. It also displays two
action buttons in the row next to each student. At the left above the main grid is the "School"
drop-down list. The user can select the desired school to work on from this drop-down list. The user can
only access schools that he/she has access too, given by the system administrator. Once a different school
have been selected, the main grid will update with the students assigned to that school. In the middle
above the main grid, is a blue "Add new Student" button. This button allow the user to add a new
student to the selected school. Just below the "Add new Student" button is an orange "Update Students"
button. This button allows the user to update the biometrics units with selected students. At the right
above the main grid is a blue "Import List" button. This button allows the user to add lists of
students to the selected school. Below the "Import List" button is a red "Save" button. This
button work together with the "Update Students" button to update selected students to the biometrics
units. To the right of the "Save" button is a green "Help" button. Clicking on the this button
will load this help document.
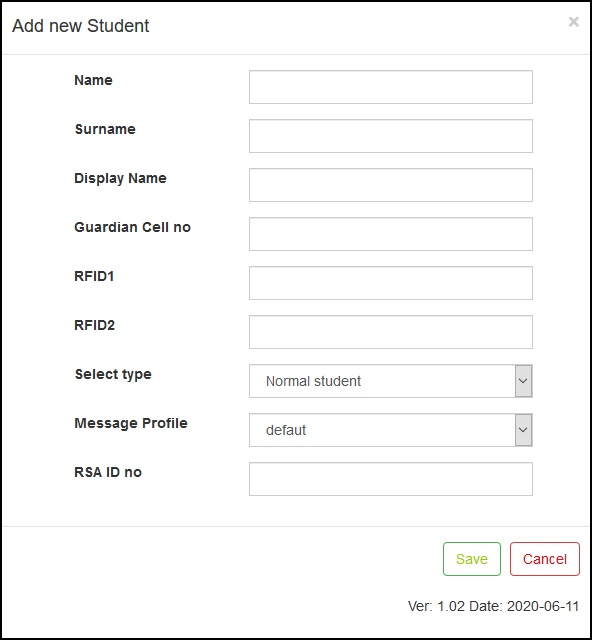
- Clicking on the "Add new Student" button, will open the "Add new Student" form. The user can create
a new student account by filling in the correct data in each field on the form. Please note that the "Display Name"
field has a maximum length of 16 character. This is the name that will be displayed on the LCD screen of the
biometrics unit when the student logs in or -out. To save the new student account, click on the "Save"
button or click on the "Cancel" button to exit the form without saving the new student account.
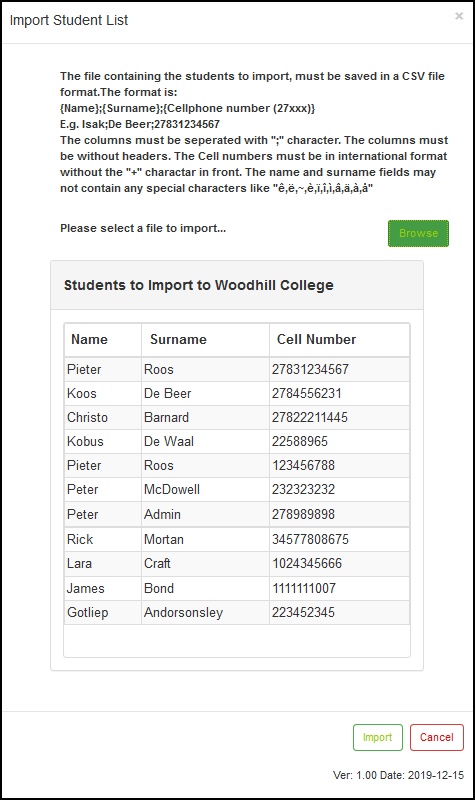
- Clicking on the "Import List" button, will open the "Import Student List" form. The user can use this
interface to import a list of students in a CSV file format. The user must read the instructions on the form
carefully, so that the user can make sure that the file format is correct before attempting to import the list.
The user can click on the "Browse" button to open an open dialog box to browse for the CSV file on the
user's computer. If the file was loaded successfully, the interface will populate the grid with all the
students in the list. The user can inspect if all the data was imported correctly by viewing the data in the grid.
The user can proceed to import the data by clicking on the "Import" button at the bottom of the form, or
click on the "Cancel" button to exit the form without saving the new student list.
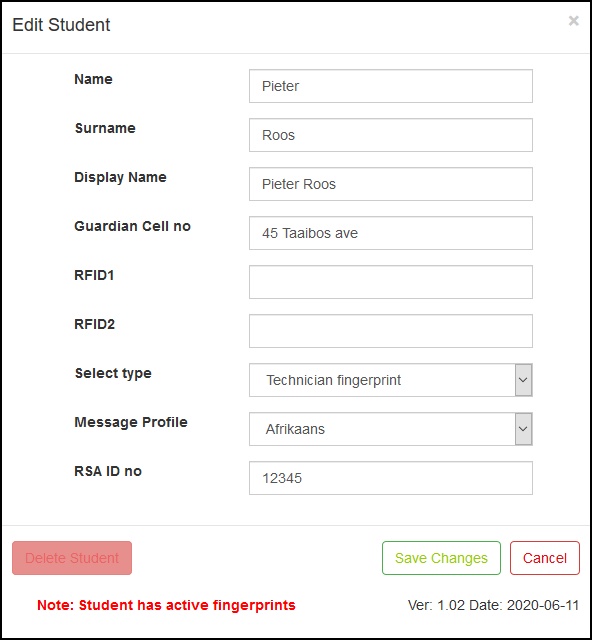
- Next to each student on the main form is an orange "Edit" button. Clicking on the "Edit" button will open
the "Edit Student" form. This form is similar to the "Add new Student" form. The user
can edit an existing student account by changing the data in the edit fields. Clicking on the "Save" button will save the
changes, but clicking on the "Cancel" button will discard any changes made. In the bottom left corner is a
"Delete Student" button. Clicking on this button will erase the student account from the system. Please note
that a student account can only be deleted if the student account is not linked to any fingerprint files.
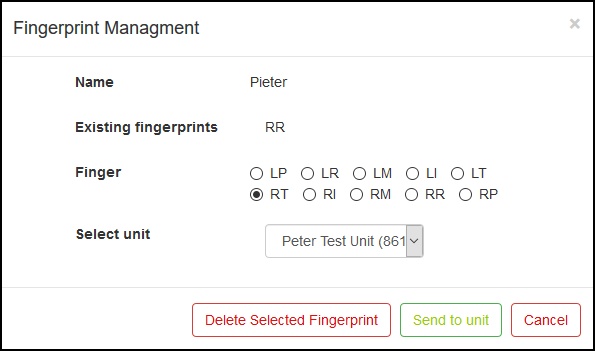
- Next to each student on the main form is a blue "Enroll" button. Clicking on the "Enroll" button
will open the "Fingerprint Management" form. The user can use this interface to remove fingerprint files,
linked to a student. The form will display a list of fingers that are linked to the student. The user must select the
finger to be removed by clicking on the radio button named the same as the finger to removed. The user must click on
the "Delete Selected Finger" button to remove the linked finger from the student account and also delete
the fingerprint file from the system. Or the user can click on the "Cancel" button to exit the form without
removing any fingerprint files or links. The "Select Unit" drop-down list and the "Send to unit" button
are part of a previous function and are no longer in use and will have no affect on the system. This will we removed
from the form in the future.
- Clicking on the "Update Students" button on the main interface will enable a checkbox next to each student in the main grid.
The user can use this interface to update only selected students onto the biometrics units. The user must click
on the checkbox next to the students that he/she wants to update, so that the checkbox has a check mark in it.
The user must make sure that the selected students are included in the group assigned to the biometrics units,
before attempting an update. The groups can be managed in the "Fingerprint Assignment" page. When the
user is done with his/her selection of students to update, the user can click on the "Save" button, to
complete the update process. The user will be prompted with message box to confirm the update. The user must
click on the "OK" button on the message box to complete the update process, or press the escape key to abort.
